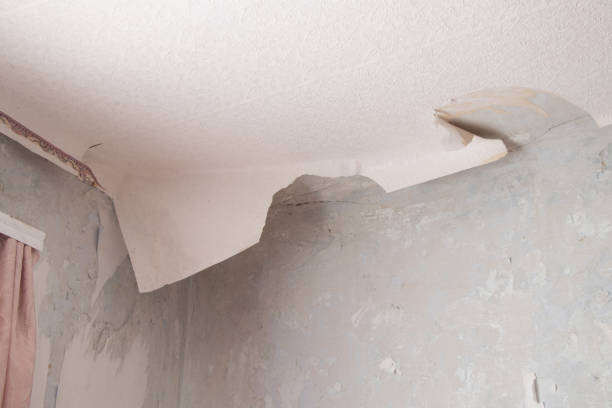
Popcorn ceilings, also known as textured or acoustic ceilings, were once popular in home construction due to their sound-dampening and easy application properties. However, they have become outdated over time, and many homeowners now prefer smooth, modern ceilings. If you’re ready to bid farewell to your popcorn ceilings, this DIY guide will provide you with useful tips and techniques to tackle the removal process effectively.
Assess the Ceiling Condition
Before starting the popcorn removal process, evaluate the condition of your ceiling. If your home was built before 1980, it’s crucial to check for the presence of asbestos. Hiring a professional asbestos testing service is recommended for accurate results. If asbestos is present, it’s essential to hire a licensed professional for safe removal.

Gather the Right Tools and Materials
To successfully remove popcorn ceilings, gather the following tools and materials:
- Plastic sheeting or drop cloths to protect the floor and furniture.
- Safety goggles, a dust mask, and gloves to protect yourself.
- A ladder or scaffold for easy access to the ceiling.
- A garden sprayer or spray bottle filled with warm water.
- A scraper or putty knife for popcorn removal.
- Sanding equipment for smoothing the ceiling after removal.
- Joint compound and drywall patching compound for repairing any damaged areas.
Preparation is Key
- Remove or cover furniture and belongings to protect them from dust and debris.
- Cover the floor and walls with plastic sheeting or drop cloths to catch the falling popcorn and make cleanup easier.
- Turn off the electricity in the room to ensure safety while working near light fixtures.
Wet and Scrape Technique
- Spray a small section of the popcorn ceiling with warm water using a garden sprayer or spray bottle. Allow the water to penetrate the texture for a few minutes to loosen it.
- Gently scrape the softened popcorn texture using a scraper or putty knife, being careful not to damage the underlying drywall.
- Continue the wet and scrape process in small sections until the entire ceiling is free of popcorn texture.
Smoothing and Repairing the Ceiling
- After removing the popcorn texture, inspect the ceiling for any damaged areas. Use joint compound or drywall patching compound to repair cracks, gouges, or imperfections.
- Allow the compound to dry according to the manufacturer’s instructions, then sand the repaired areas to achieve a smooth finish.
- Clean the ceiling of any remaining dust or debris before applying a fresh coat of paint.
Finishing Touches:
- Apply a primer to the ceiling before painting to ensure better adhesion and a professional-looking finish.
- Choose a high-quality paint suitable for ceilings and apply it evenly using a roller or paint sprayer.
- Allow the paint to dry completely, and enjoy your newly transformed, popcorn-free ceiling.
Conclusion
Removing popcorn ceilings can be a rewarding DIY project that instantly updates the look and feel of your home. By following these tips and techniques, you can safely and efficiently remove the outdated texture, revealing a smooth and modern ceiling. Remember to take necessary precautions, assess the ceiling condition, and gather the right tools before starting the removal process. With some patience and effort, you’ll say goodbye to popcorn ceilings and welcome a fresh new aesthetic to your living space.

