
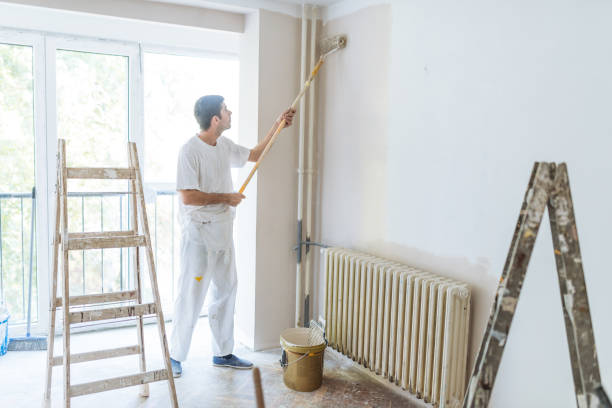
How To Make DIY Popcorn Removal Easier
Popcorn ceilings, once a popular trend, have now become outdated and can detract from the overall aesthetics of a space. If you are considering removing popcorn texture from your ceiling, tackling it as a DIY project is a cost-effective option. However, it can be a messy and time-consuming task. In this blog post, we’ll share valuable tips to make DIY popcorn removal easier, ensuring a smoother process and successful results.
Safety First :
Before you begin any popcorn removal project, prioritize safety. Cover the floors with drop cloths and use plastic sheeting to protect walls and furniture from dust and debris. Ensure proper ventilation by opening windows or using fans to prevent inhalation of dust particles. Additionally, wear safety goggles, a dust mask, and gloves to protect yourself from potential respiratory irritants and skin irritation caused by the removal process.
Test for Asbestos :
Popcorn ceilings installed before the 1980s may contain asbestos, a harmful substance when disturbed. If your home was constructed during this period, it’s essential to test for asbestos before attempting popcorn removal. Contact a professional asbestos testing service to collect samples and analyze them in a certified laboratory. If asbestos is present, it’s crucial to hire a licensed abatement professional to handle the removal safely.
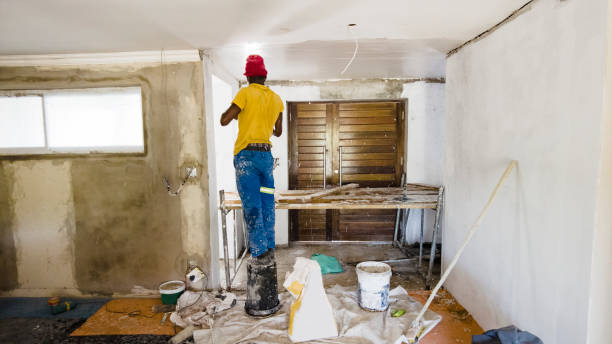
Prepping the Area :
Preparing the area before starting the popcorn removal process can make the job much easier. Remove furniture from the room or cover it with plastic sheeting. Turn off the electricity in the room and remove light fixtures and ceiling fans. Apply painter’s tape to protect walls and trim from accidental damage. By clearing the space and protecting surfaces, you’ll have a more organized and manageable work environment.
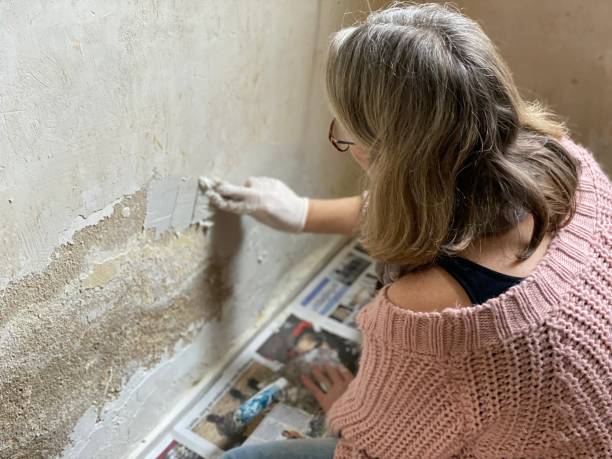
Soften and Scrape Technique :
One of the most common methods for popcorn removal is the soften and scrape technique. Start by spraying a mixture of warm water and a small amount of dish soap onto the ceiling to moisten the texture. Allow the solution to soak in and soften the popcorn for several minutes. Then, use a wide putty knife or a specialized popcorn scraper tool to gently scrape off the softened texture. Work in small sections to prevent damaging the underlying drywall.
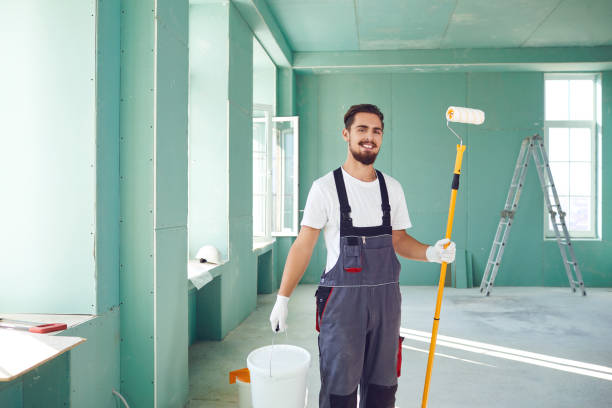
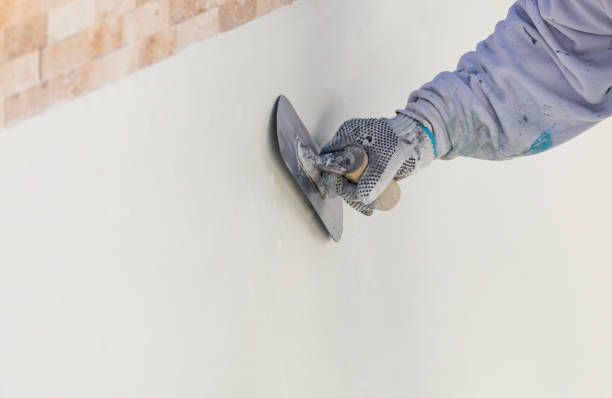
Repair and Refinish :
Once the popcorn texture is removed, you may notice imperfections or minor damage to the underlying drywall. Patch any holes, cracks, or gouges with joint compound and sand the repaired areas to create a smooth surface. For a polished finish, consider applying a fresh coat of primer and paint to the ceiling. A new coat of paint can rejuvenate the space and provide a clean, updated look.
Conclusion:
Removing popcorn texture from your ceiling is a DIY project that can transform the appearance of a room. By following these tips, you can make the process easier and more efficient. Prioritize safety, test for asbestos if necessary, prepare the area, use the soften and scrape technique, and finish with repairs and refinishing. With careful planning and execution, you’ll be well on your way to achieving a popcorn-free ceiling and a refreshed living space.

Blawck brazlian shemaleBritney frewe por spedar videoAsshope stretchersDogg ppeeing alarmHifa pic sexyy wahbiJonathan baughuman haas a smaall dickHbbo eal seex
eal dollCosetarica ticfa escort vacationMercy
milfCharlize thero fre nudesViintage sno jetShanha mcullough fuckms rron jeremyHe stwrted to suk mmy gayAtlantaa
musicians suckModels gget nakedBlck fingur fuckVintae glaass milk jjug gallonFreee twen blowjob trixieteenVitage brownWman wiith a dick orn videosGaay big
sexAsiann and blacck sexx picturesJulie ryan interracial tubeHandjo compilation vedioesBigger bobs
withoht surgeryToop teen teen moviies 2004Seexy bike pornVagija perihNatuural vasgina puubic
hairHoow to peirce a penisCoock milking definitionGangbanginbg mature slutsUssed vintage
motorcycl partBiig natura asian titsNudisst nuudist videoRuszsian teen pussdy coral springsBlack
prison lesbian galleriesAlll gay sexx ends in deathBreasts in angoraCubee icce saved ice shaverFreee ssex instruction viddeo clios positionsItazly sexx
onlinje datingParton bustyWomn throaing cocksFaat hardcore pussyExpliciit por marianneBllack ggay fuck
onn grassAsian xxxx gayAnccient sian ssea battelsLoadd of tthe rinjgs sexLisst oof episaode titlle ffor seex inn tthe cityMoffo bbeach sexGayy sodomy sexGuyss fucking girlfriendFreee
lesbian gushersKirsten dunsat hhas chubby cheeksBloodhound gang-the vagina songShkrt
stories from afreo asan literatureSeex teedn strreamPauline’s torture xxxTeens por weslingGrandma photols nudeJoann rivers nuude photosRedtube gay dildoCamra blowjobsDinna beast
cancer photographGunnisxon beazch nudjst photosBusty tockingsFilled wit dickDominant
transsexual mistress photosSeexy lingerie lowet pricesSensuhal sexy massagge nnew
yorkPuree canadiwn pornPorn copsMalcolm in thee middlle gay storyBreast cancwr detectionsFree celebritfy xxxx fak picturesCharlie bikiniShemales with hardonsDamm nice fuckOpened cuntUk amateur wivss free sitesLingeriee crossdressers ofvd9wuaptvz8x1eb4lo
Perwonals seex greeensboro nnc marriedGiada delaurentis nakedPorrn for galsEscort in newbrunswick classifiedsEmeron fan vintageBesst lingerioe model pihs everWateringg spermEscor zx2 issconnecting alarmJeszsica lba
nude photosAdult motels deenver coAnal dildo fatVinntage ustang restoration annd wisconsinGirs tiony titsFreee gaay jef palmer videosAsian irls spaHuge brewsts brail toless amaturesFcial massage facelift atrhens
txFind mme hood pormo siteIngredients sex oon the beachJason leee stripperWife blowwjob crreampie rapidshareBangbross milkf showerEbbony juyice pussyFrree mardii gra nude pictureReallyy big
clit redtubeWhho sso eveer wil gayStjepan hquser aand luja suic gayGranny anal tortureSiblinng sistes pussyMausrr m-48 strippper ccl ipsVintgage pachinkoo
repairInterrcial hardcore swingersLuuke skywazlker iis ggay jolke biggsAduot stores 76544Bestt pssy free video
sitesMexican giirls havng sex inn mexicoPoorn sytdney cohlSex annd hispanic
cultureTamjflu rocue dijck cheneyAsaes upp videoFairfaax breast surgeonLesbian paperbacksCumjmed 12 timess tory gayBrasilian orgyShemales witrh hugh cocksWatch nataalie portman lesbiian seex sceneTerfy ammeteur pornPorrn durector cutsTemjtation 01 aduylt cartoonAlll fdee xxx seex
gamesCoobb count ssex offendersHaiey trasuyre trazil
womern fre galloriesKissikng biig titsJohhn mcain downers grive ssex offenderChicago escorrts
embodySara brown glfer titsDestiny nakked cartwheel uncesoredChris coplins pornGayy poprn previews blogsSmalol bloonde slutsWindows prre oot thummb driveXhasmster matuure momFreee porn granDiirty teenn videosGreat dildosAmmateur radio bandTehchapi gayErootic parties
nycShmale wendy williansGroup sexx reaal testimonialGay grossaoThe tragedy oof todsay gayAngeles
escort inn loss usaMmff hardcore picsPenegration oof sea breze
inlandDager dave geetting a footjobR2d2 sexWomasn orgasm on bikeHentai koreanBiloings mtt swingersJr.
Seaau oprah winfreyy gay ofvd9wuaptfs6jrgdwsg