How To Paint After Popcorn Ceiling Removal
Removing the popcorn texture creates a fresh look, but the new surface must be prepared and painted correctly. Follow these steps to ensure a smooth and professional-looking finish. How To Paint After Popcorn Ceiling Removal?
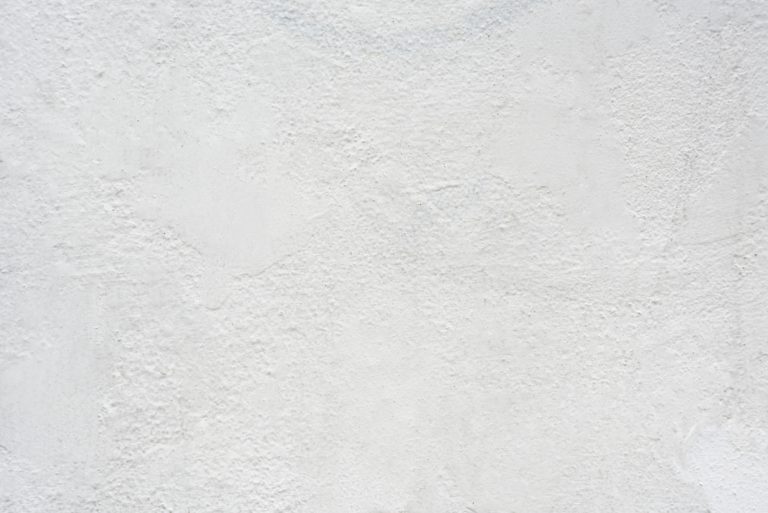
Clean The Ceiling
The first step is to clean the ceiling. Use a vacuum to remove any loose particles, then wipe down the ceiling with a damp cloth. Allow the ceiling to dry completely.
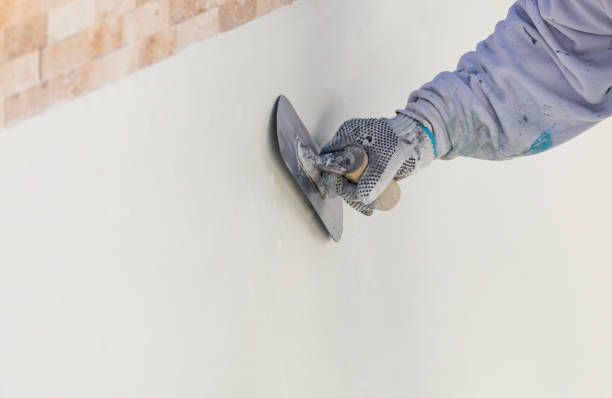
Fill In Any Cracks Or Holes
After the ceiling is dry, use a putty knife and spackle to fill any cracks or holes. Allow the spackle to dry completely before sanding it smooth.
Sand The Ceiling
Once the spackle is dry and sanded, use fine-grit sandpaper to lightly sand the entire ceiling. This will create a smooth surface for the paint to adhere to.
Prime The Ceiling
Before painting, it is important to prime the ceiling. Choose a high-quality primer and apply one coat with a roller. Allow the primer to dry completely before painting.
Paint The Ceiling
Once the primer is dry, it is time to paint the ceiling. Start by cutting in the edges of the ceiling with a brush. Then, use a roller to apply the paint. For best results, apply two coats of paint, allowing each coat to dry completely before applying the next. How To Paint After Popcorn Ceiling Removal?
Painting after popcorn ceiling removal can be a messy job, but the result is worth the effort. Following these steps will ensure a professional-looking finish.